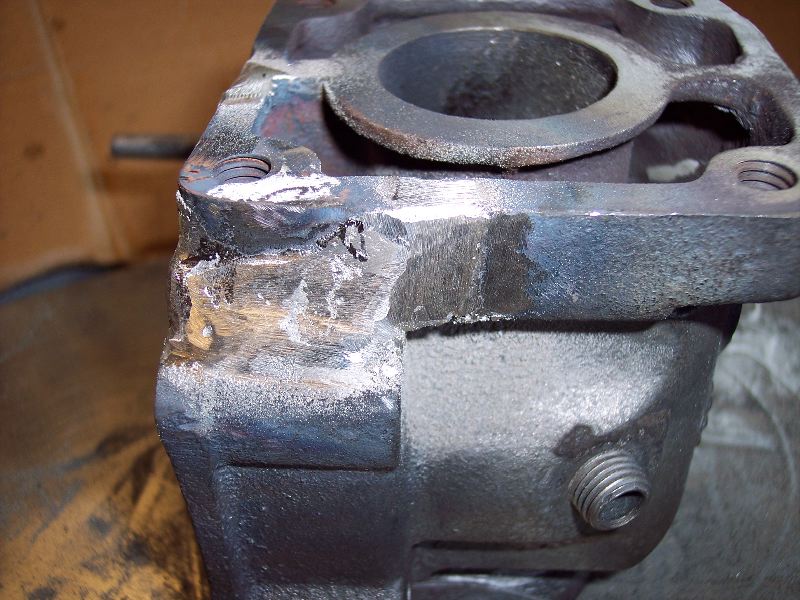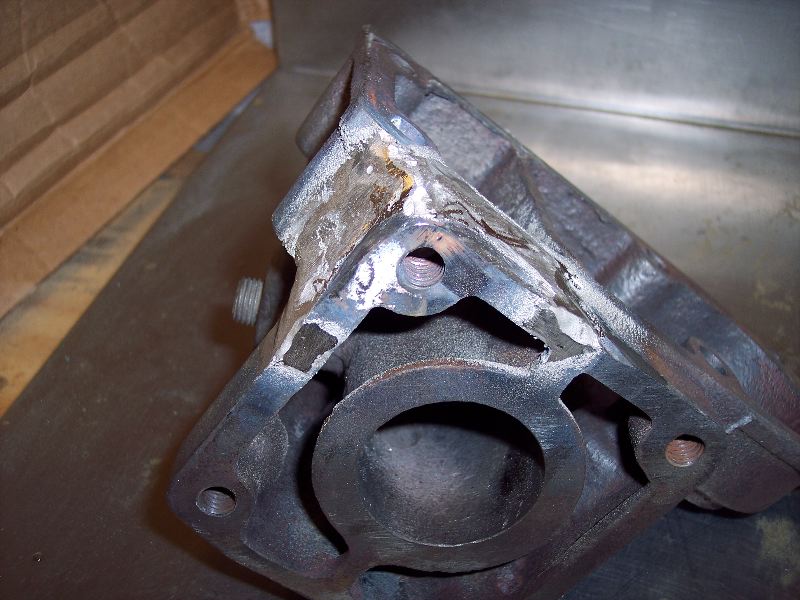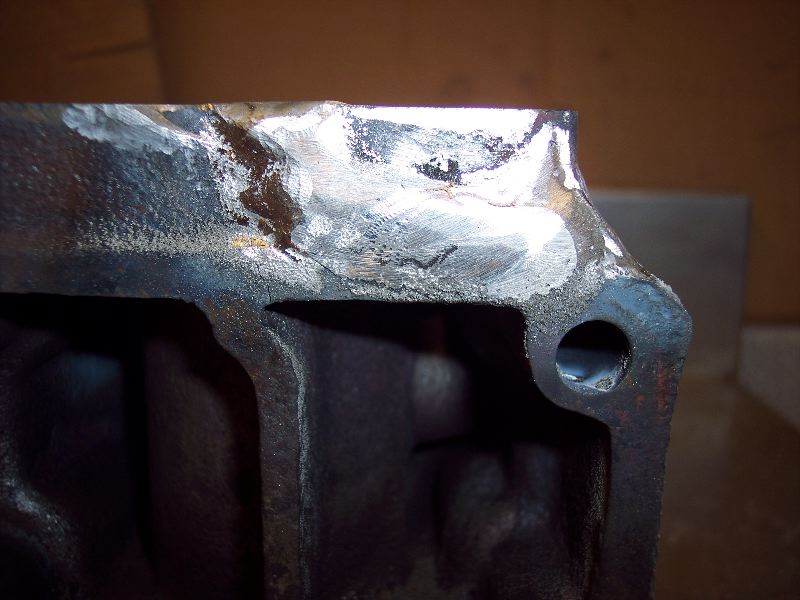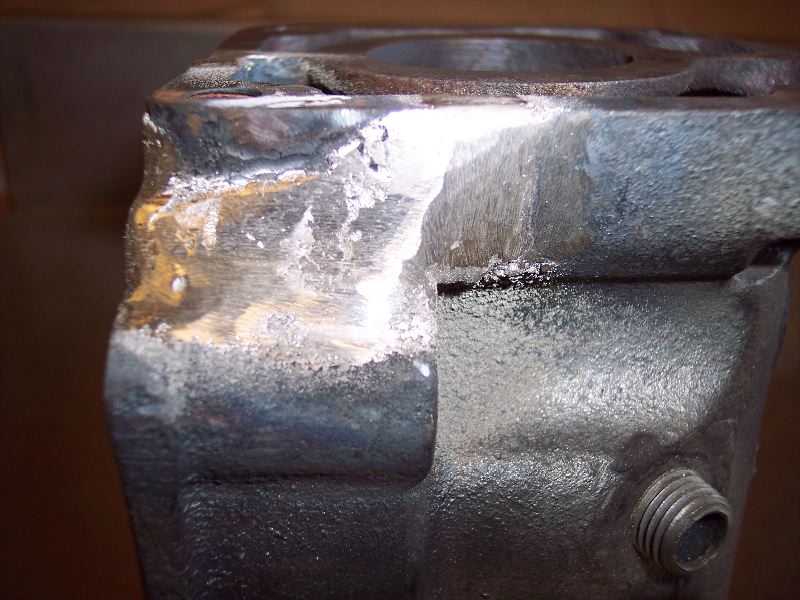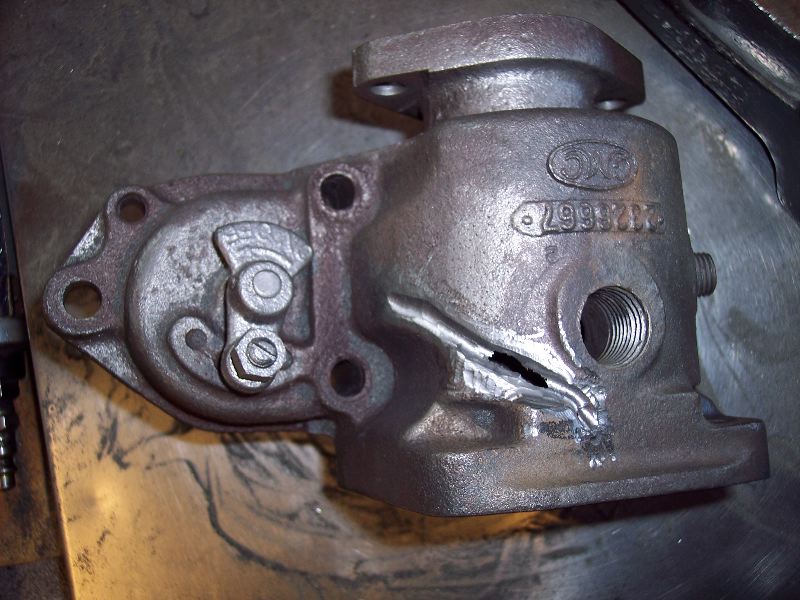
This
is the intake manifold assembly for the 54/55 2-ton (Z-series 350
model) 270 engine. The upper piece is the intake manifold. The lower,
rear piece is the exhaust manifold (that dumps to the exhaust pipe at
the rear of the manifold. The piece that is attached to both manifolds
is what I call the carburetor "heater box". The updraft carburetor
attaches to the bottom of the heater box.
[Click here to open image in new window]
exhaust manifold assembly
|
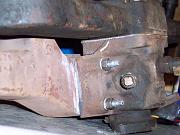
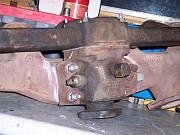
The
heater box is on the right it is still bolted to the intake manifold
(above) and the exhaust manifold (behind to the left). The heater box
has a "venturi" between the carb and the intake manifold. Around the
venturi are passages for exhaust gases surround and heat the "venturi".
This serves to heat the fuel which cools during vaporization due to
"latent heat of evaporation" (evaporative cooling due to vaporization
of the fuel). On a conventional 1954/55 270 manifold assembly, there
would be an exhaust damper inside the exhaust manifold that directs
heated gases to the bottom of the intake manifold (for a downdraft
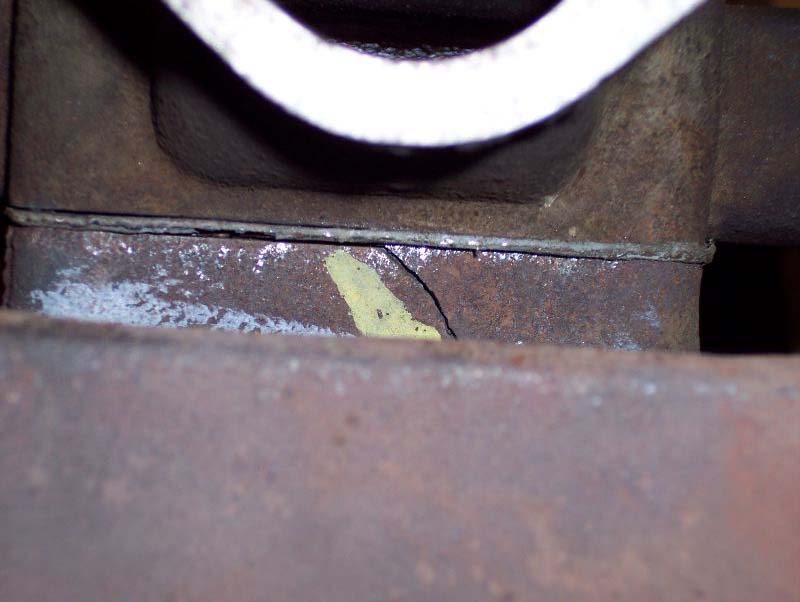
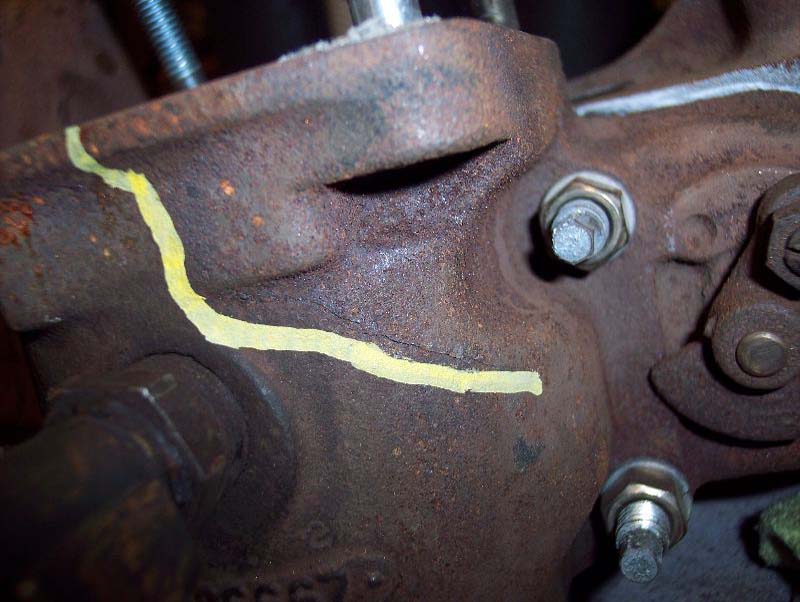
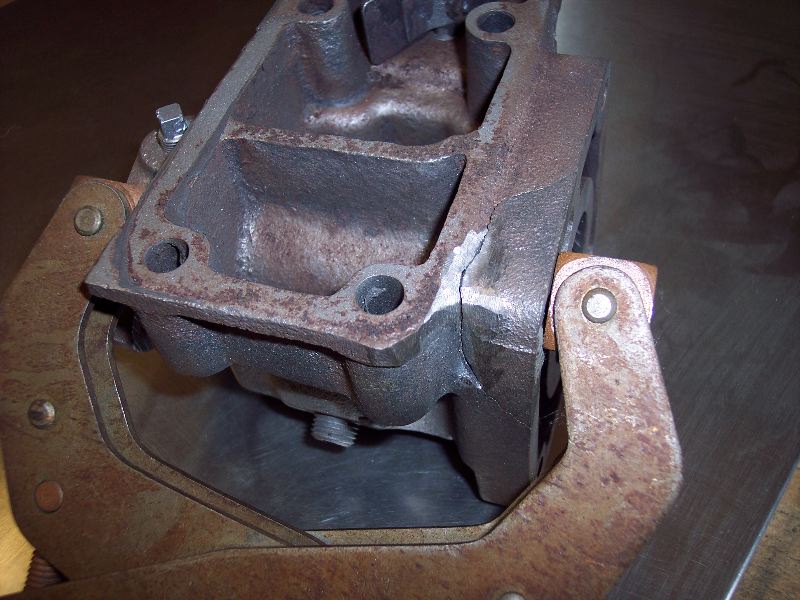
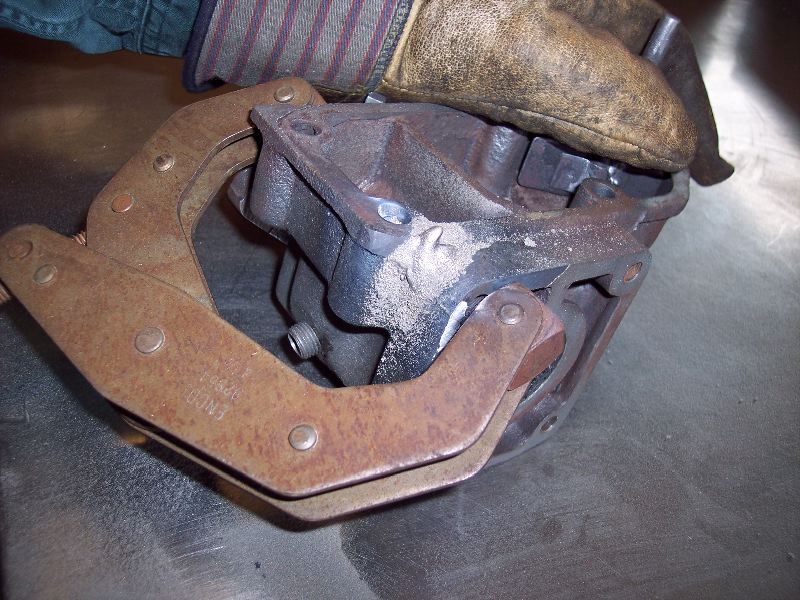
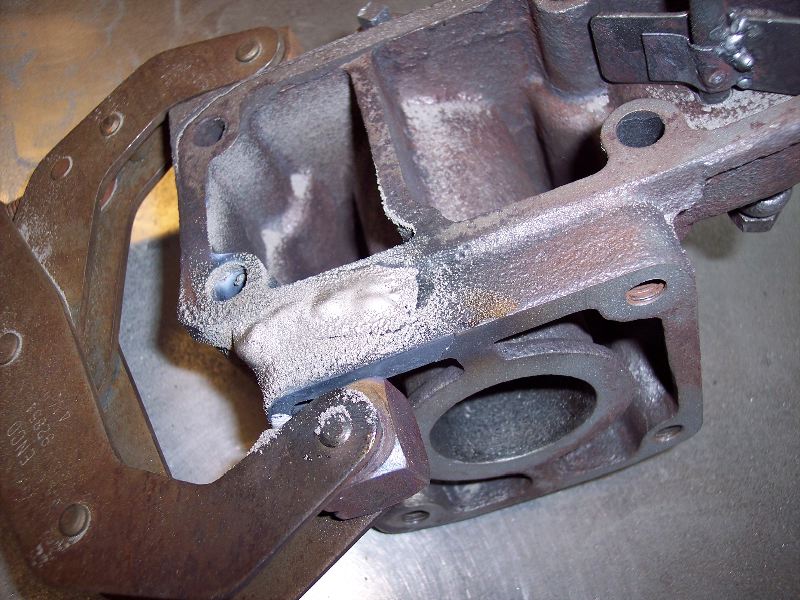
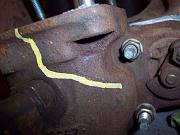
carburetor). Observe the crack at the upper left of the heater box.
[Click here to open image in new window]
side view of the heater box
|
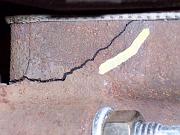
This
is a close-up of the same crack as shown in previous photo. The
assembly is still together. The cracked piece on the upper left is
actually a piece of the casting that is entirely broken off.
[Click here to open image in new window]
broken corner
|
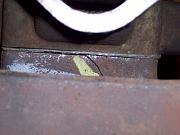
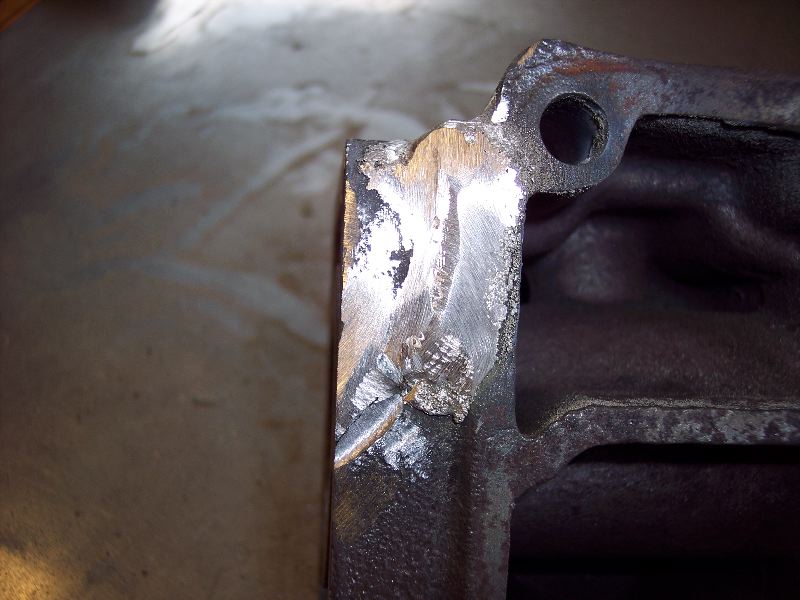
back side of the broken corner
|
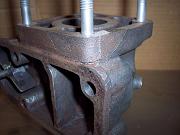
broken corn on disassembled manifold
|
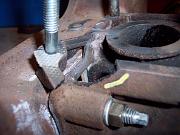
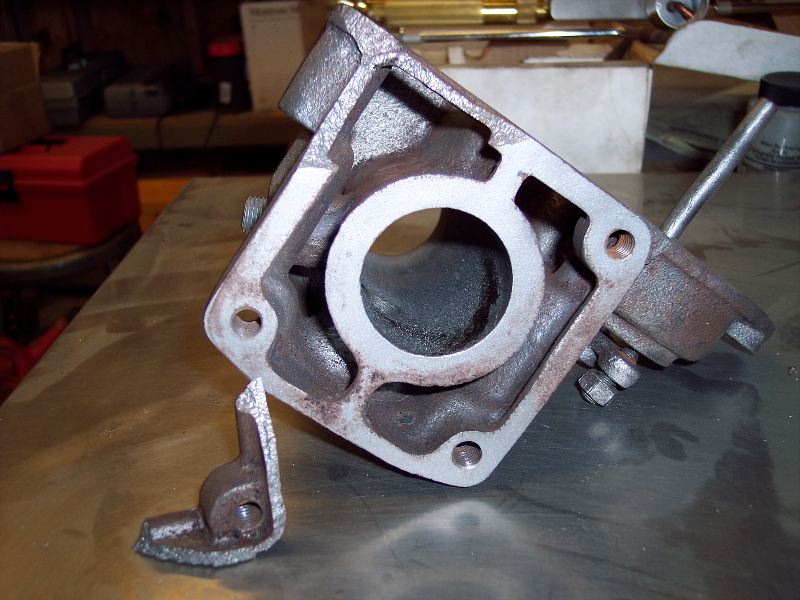
After
removing the intake manifold from above the heater box, the cracked
piece dropped off - had been complete broken, most likely due to the
fact that someone (me) did not think about having the intake/exhaust
ports side of the assembly planed and trued. (the exhaust manifold
still connected to the exhaust manifold to the rear)
[Click here to open image in new window]
broken piece separated from heater box
|
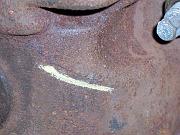
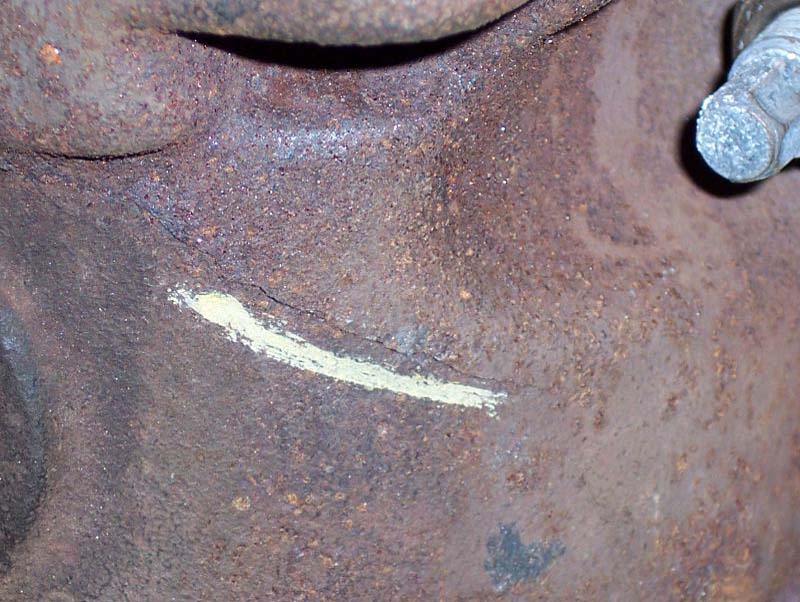
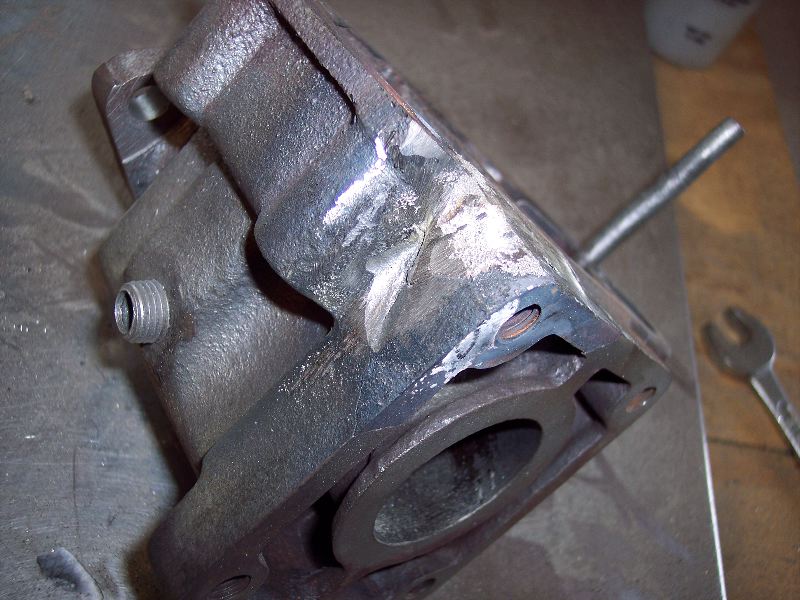
crack on the other side of the heater box
|
full extent of the crack
|
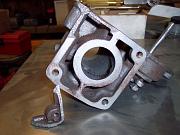
top view of the heater box
|
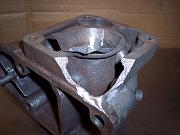
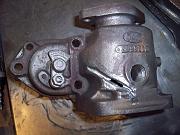
This
photo shows the first part of the preparation of the part for
spray-welding. Mike Aldrich ground away material in a few mating
locations of two p[ieces (middle bottom, in this photo). This would
allow Mike to "tack weld" the pieces in the correct orientation and
then continue to prep and weld other places in the mating surfaces of
the broken pieces.
[Click here to open image in new window]
preparation of first weld-spots
|
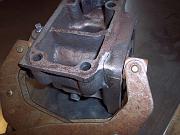
first weld-location is prepped
|
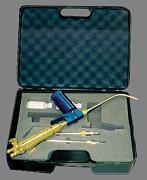
This
is the spray welding kit that Mike uses. It is sold by
http://www.cwtindustries.com/spraywelders.htm
Here is a discussion of this technique (and other welding techniques)
http://www.aa1car.com/library/ar497c.htm
"A standard oxy-acetylene torch, with the powder fed into the flame
from an attached hopper. Typically used for glass moulds, smaller parts
and repairs. Particularly suited for the repair of cast iron and
machined parts. Powder welding results in a smooth, dense coating with
a diffusion bond to the base material."
[Click here to open image in new window]
Torch_Black_300wide
|
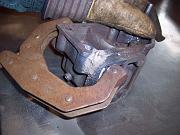
first spray-weld point
|
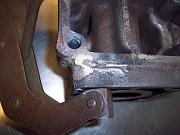
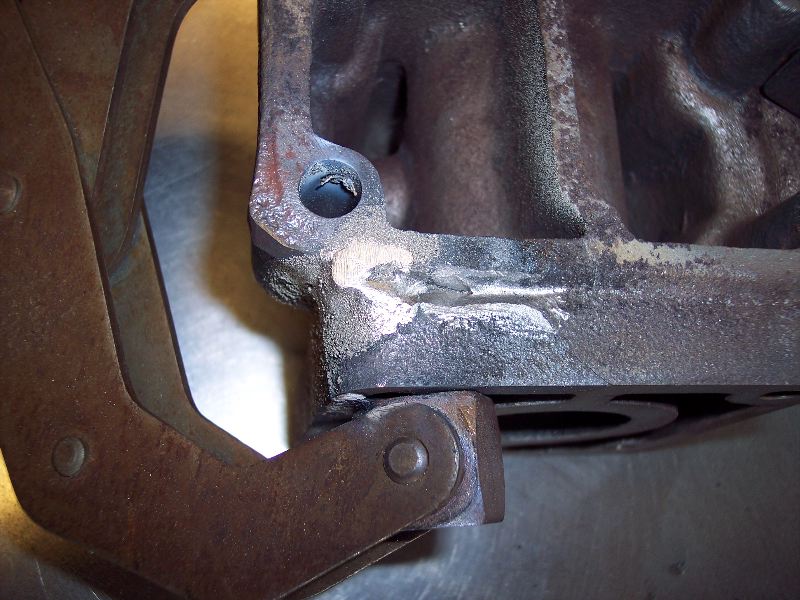
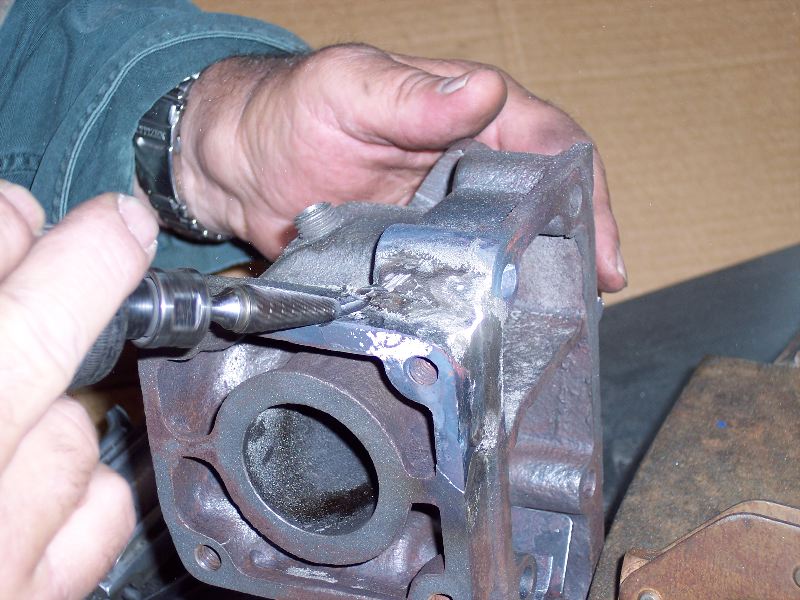
The
first "tack weld" on this end is cleaned-up (ground using a die-grinder
and a carbide bit), and, another part of a new portion of the mating
surface is grooved for the next "tack".
[Click here to open image in new window]
another location is tack welded
|
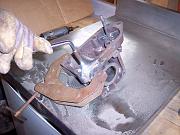
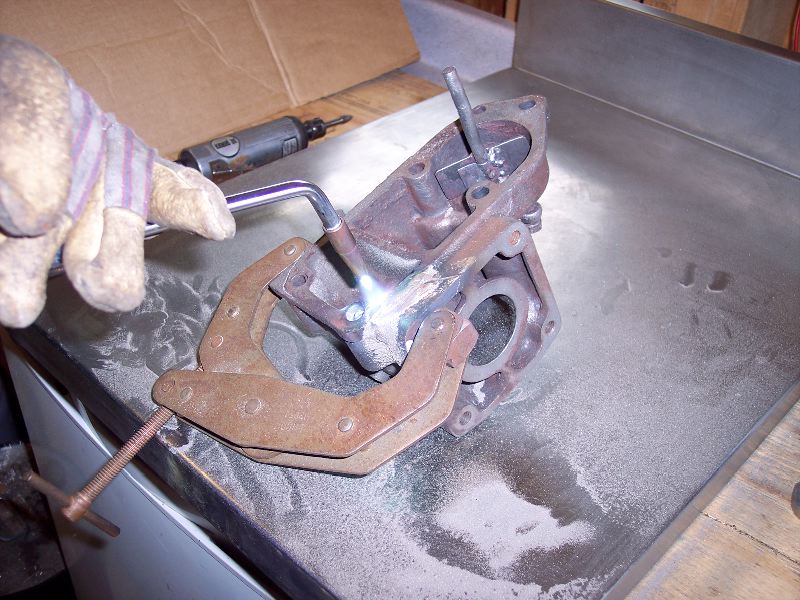
There
is wasted powder on the work surface because our borrowed oxy-acetylene
torch had an oxygen valve that could not be adjusted below 40 psi. I
think that Mike said that 5-10 psi on the oxygen delivers the
appropriate flow of powder.
[Click here to open image in new window]
powder spray-welding
|
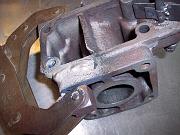
After
the broken piece was tacked into place, Mike then successively cleaned
the previous wweld/welds, grooved a little further into new territory,
and then welded. This was done repeatedly, until the weld progressed
beyond the broken mating area.
[Click here to open image in new window]
a successive build-up of the weld
|
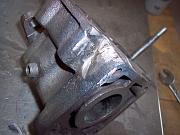
a ground weld-point ready for next weld
|
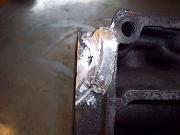
multiple grinding and rewelding
|
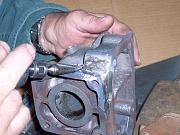
grinding a weld
|
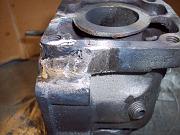
a re-reground successive weld
|
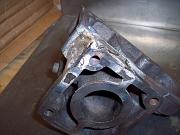
welded broken piece ready for final clean-up
|
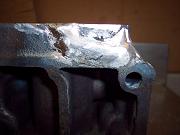
back surface of finished broken piece
|
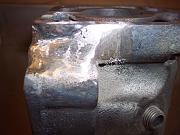
ground enough to show solid metal
|
first weld-point for a large crack
|